brawler64 N64 controller, and teardown.

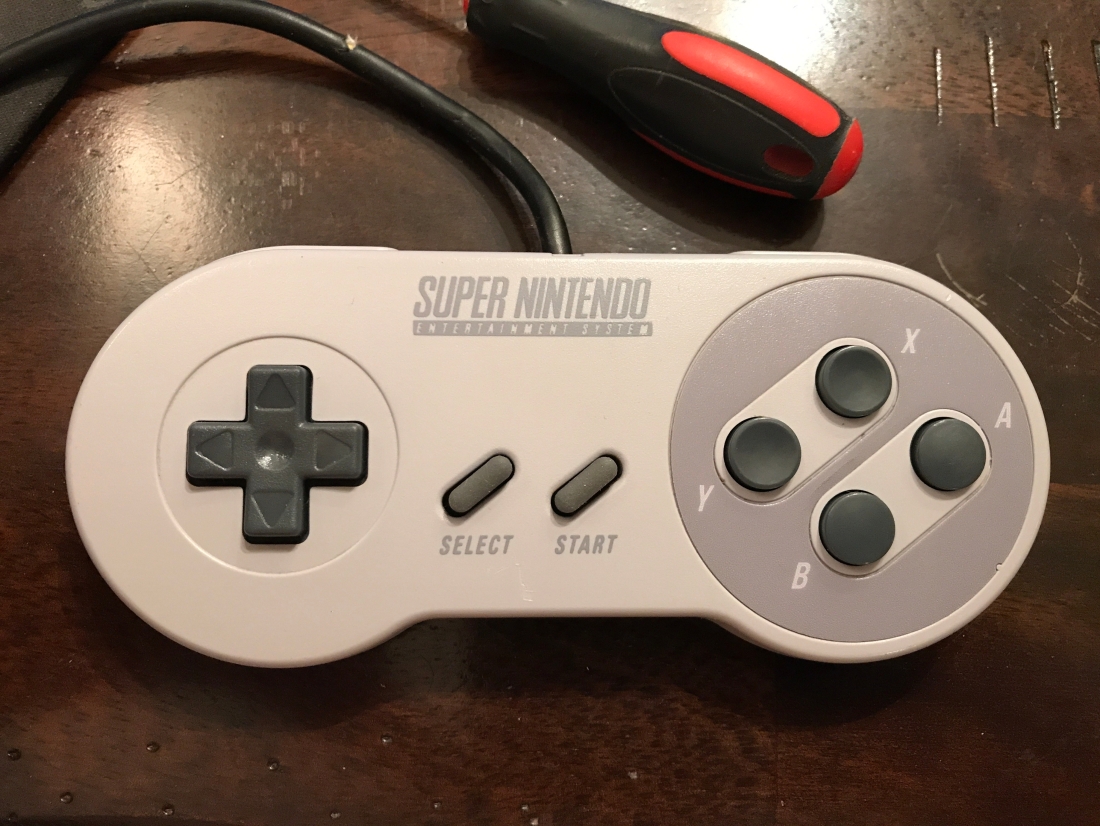
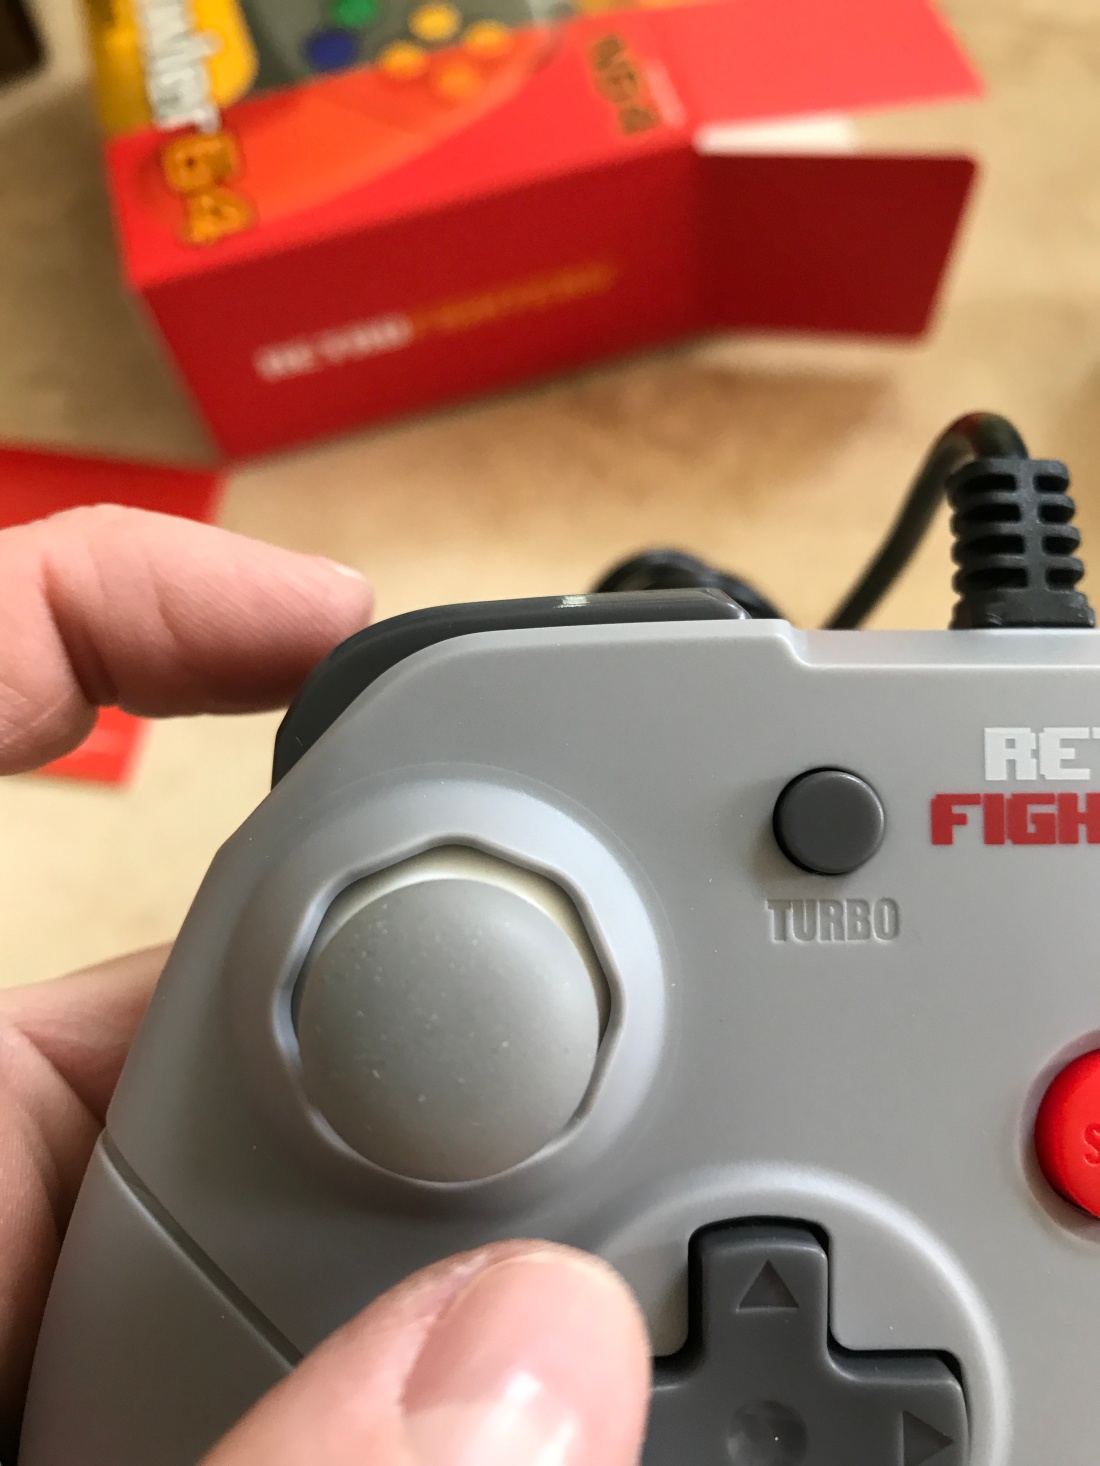
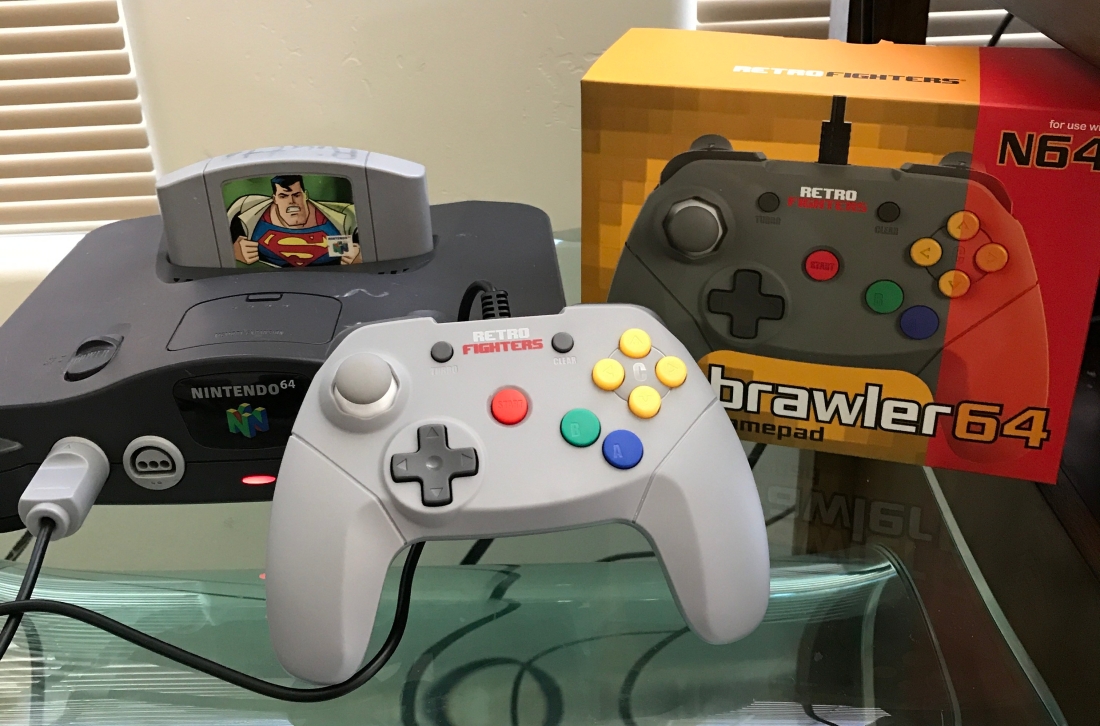
I always had a Love/Hate relationship with the N64 controller. I love that Nintendo is willing to risk experimentation and that this wasn’t like any other controller. The shape was awkward but the real problem was the joystick, it had ridges to help keep your finger from slipping of but it just wasn’t enough. thumb slipped of frequently. Many years later… Enter the…

IMG_1689

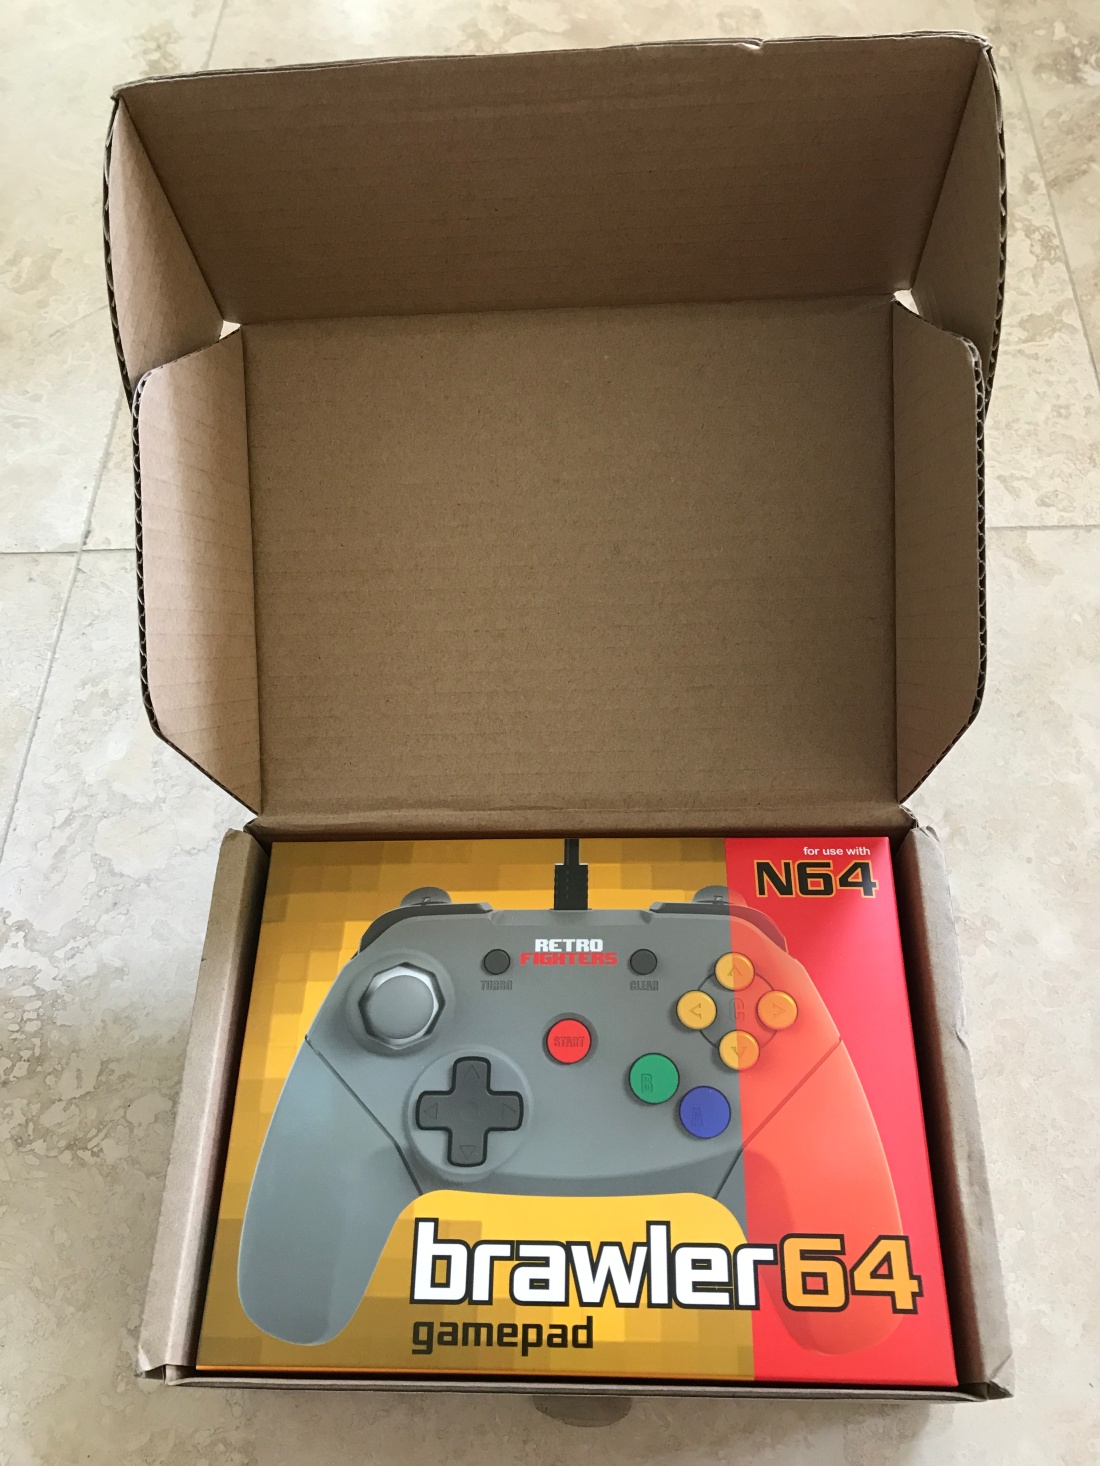
I helped kickstart this project. I like to support interesting new projects for retro systems and this fit the bill. Its more than I like to spend on controllers but $20 won’t kill me.

IMG_1692

IMG_1693

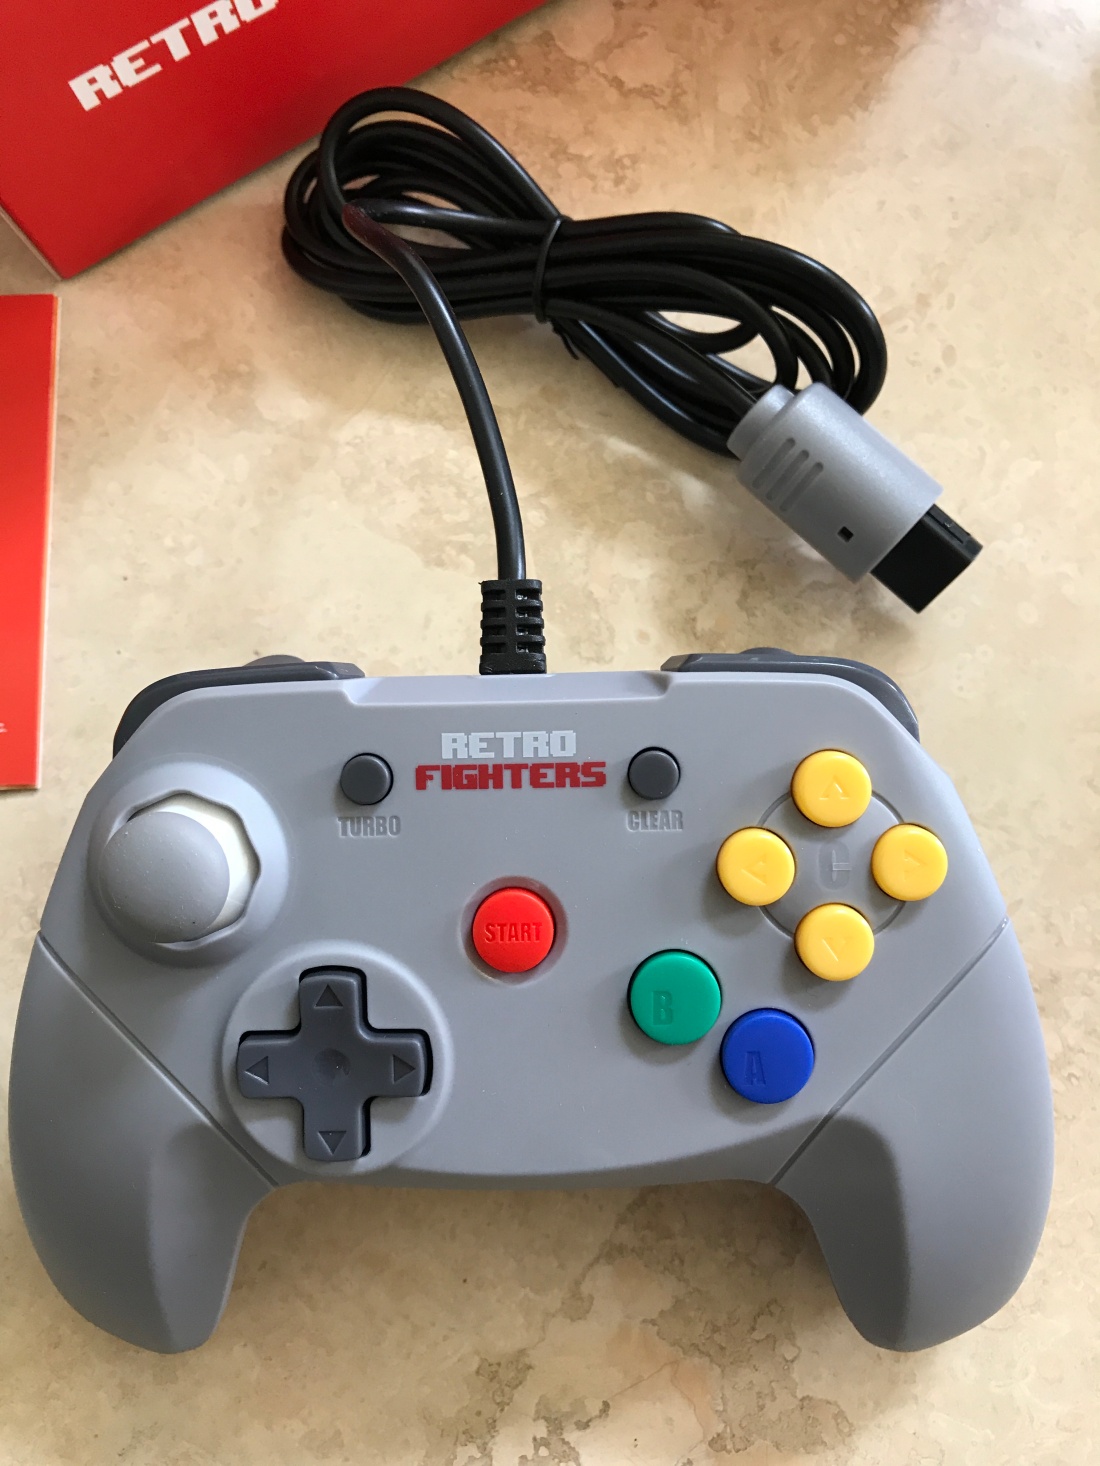
I looks good, it feels right, there is an ass ton of reviews everywhere (I haven’t actually read or watched them). skip to the L button problem.

IMG_1695

The L button will rub and get stuck against the joystick. Push the L button and move the joystick up-left.
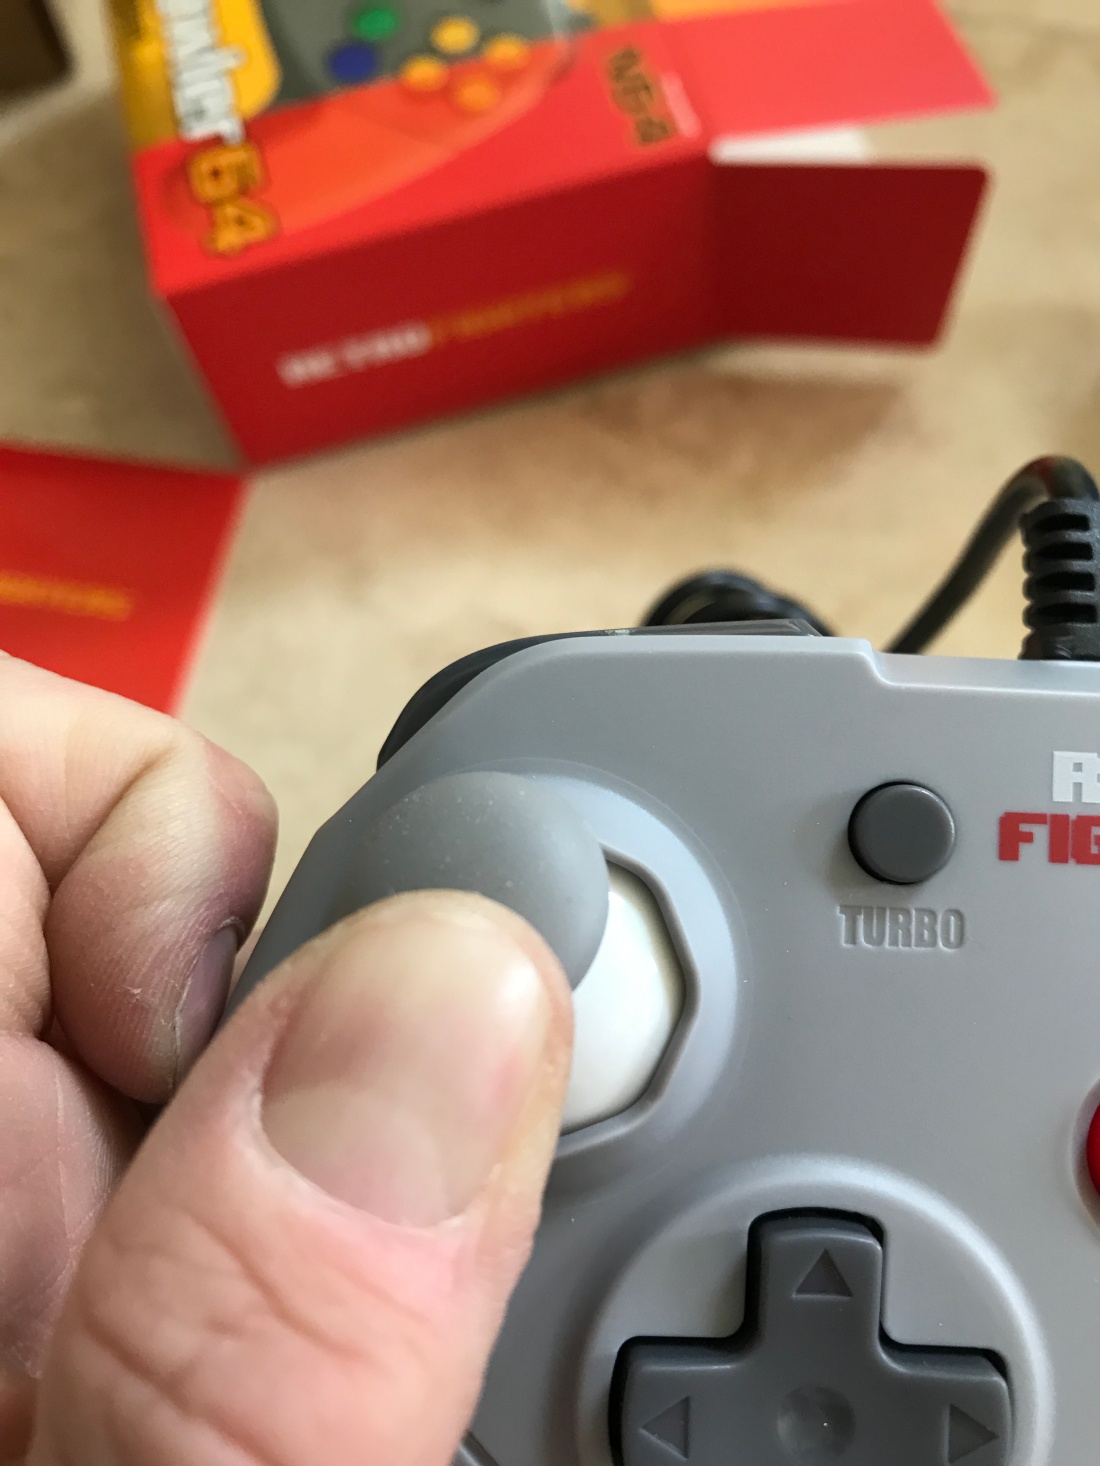
IMG_1696

Crap.

I actually didn’t notice this until Retro fighters (makers) sent out an email taking full responsibility and that they are working on it.

“…we are working on fixing it and making it right for those that wish to have it fixed. We are seeing if it is a replacement piece we can send to those for a quick fix or any other modifications need to be done. Please be assured we are here for you guys and just want everyone 100% satisfied and happy!”

They also said that new units will not have this issue. I’m going to cut them some slack, and see what they can do.

My other problem. The part of the shell between the Z and L/R buttons shows some stress, white striation.

img_1698.jpg

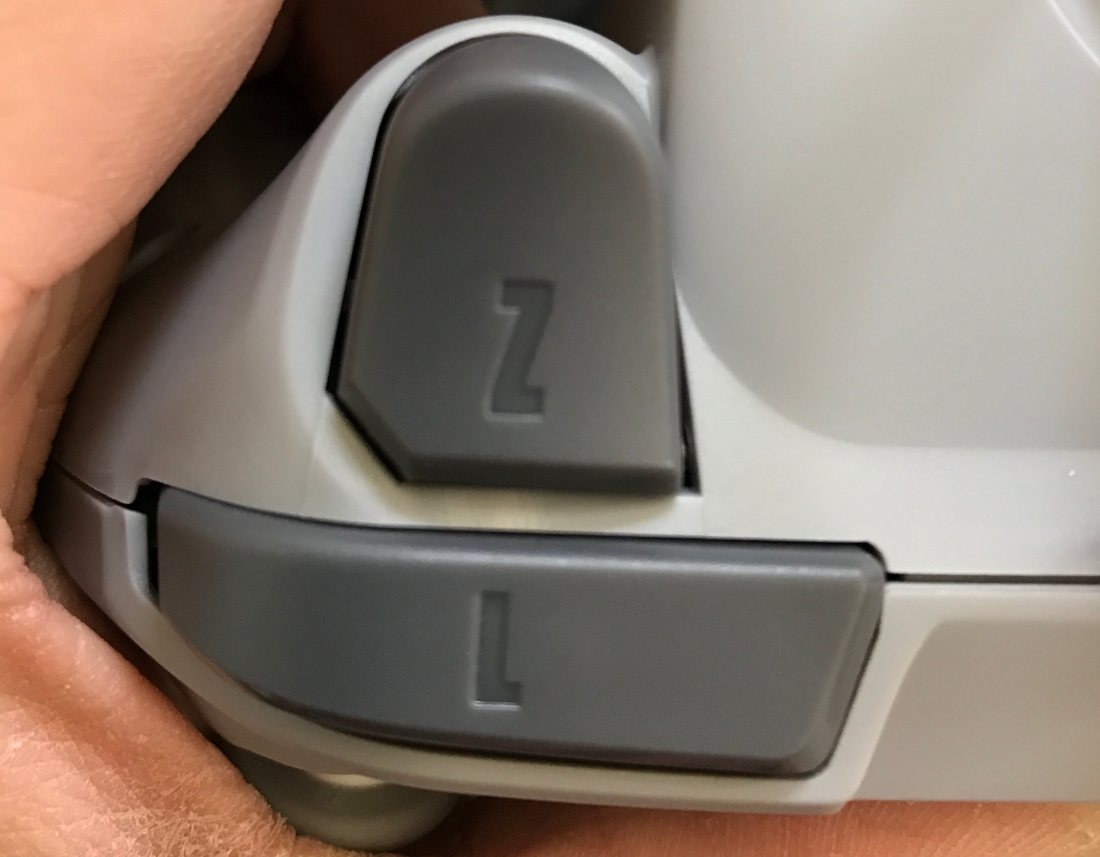
This doesn’t affect functionality and normal people probably wont notice it.

Lets crack it open!

IMG_1697

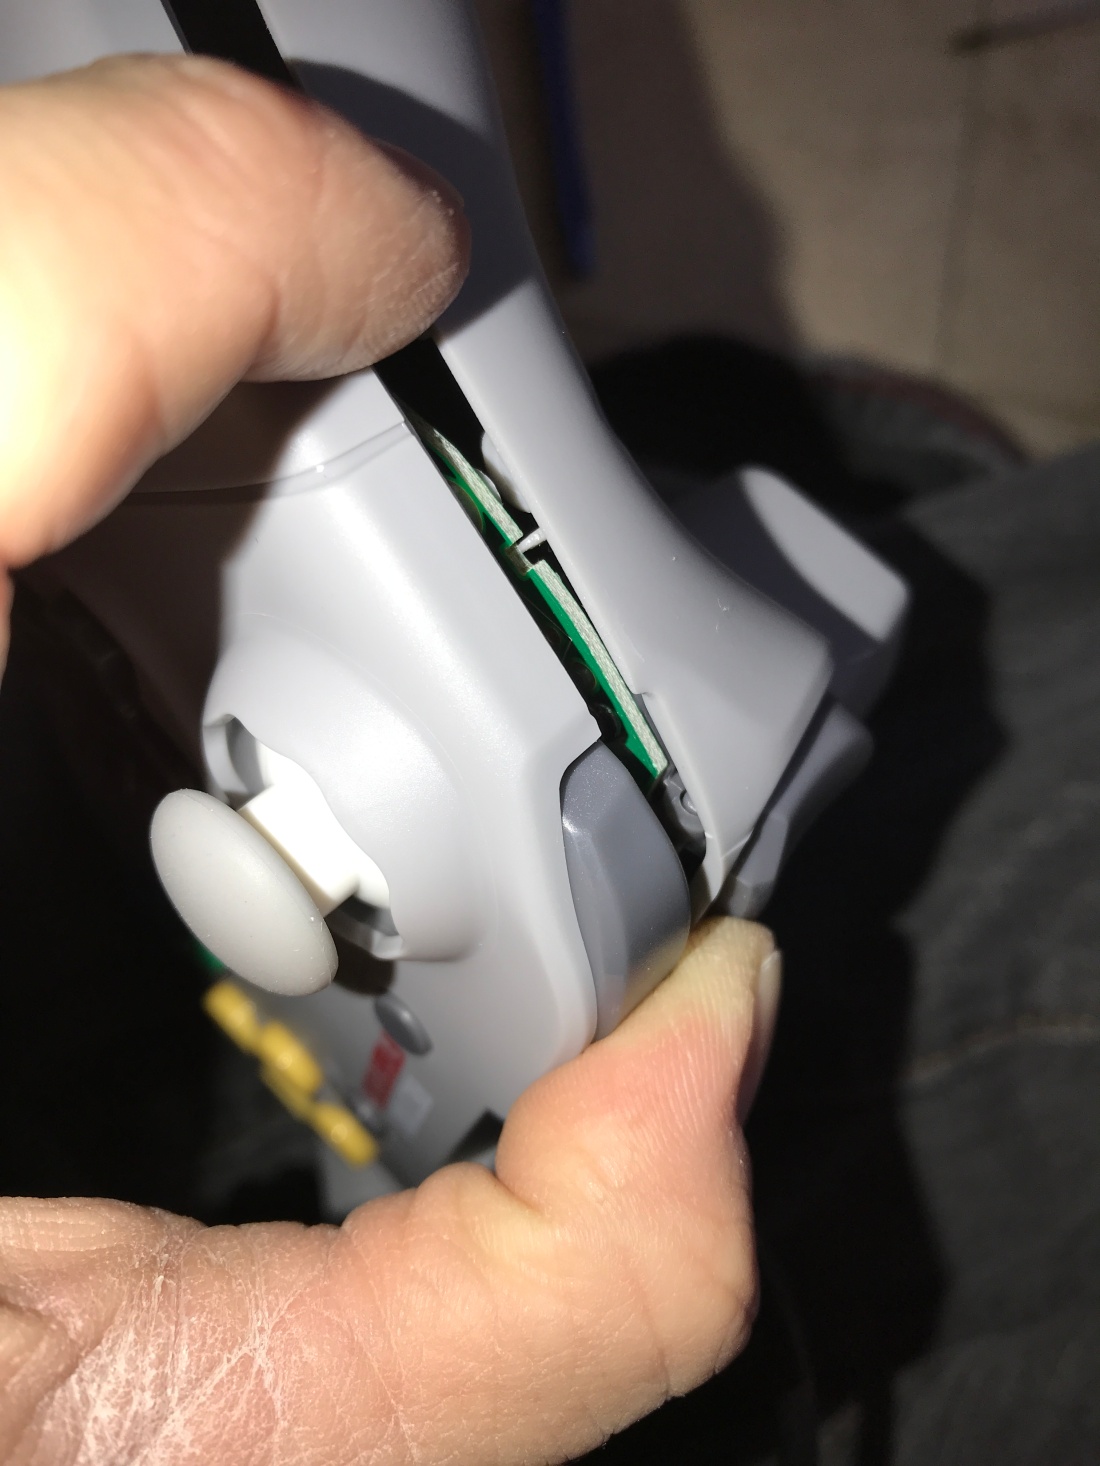
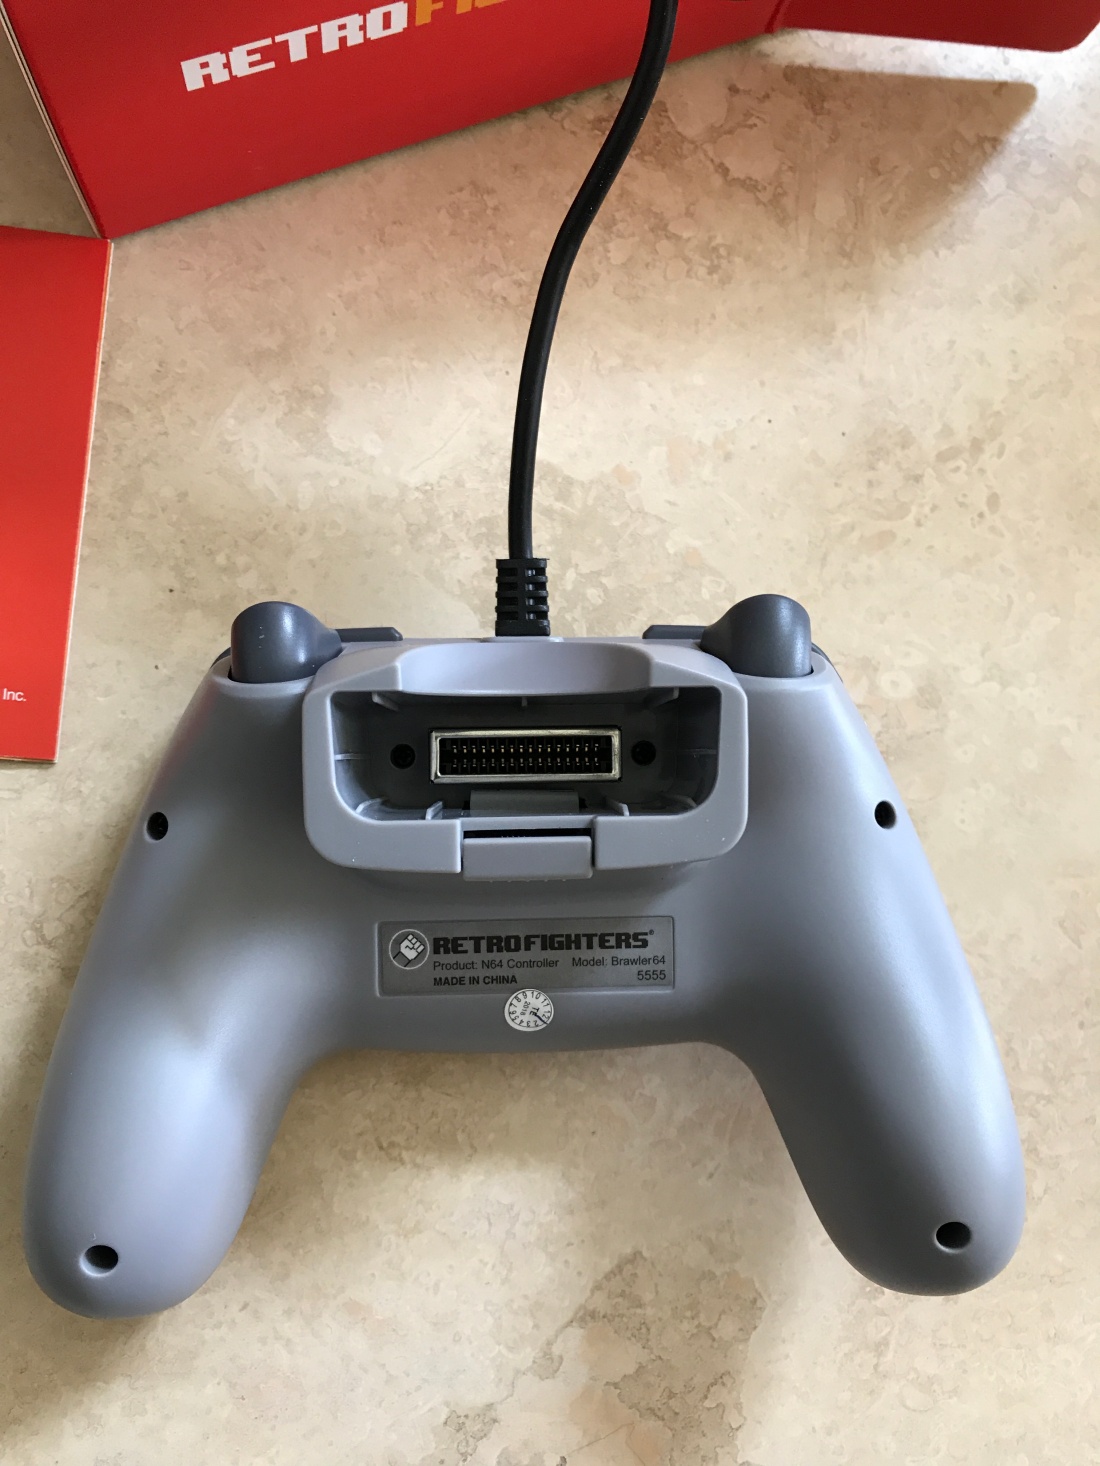
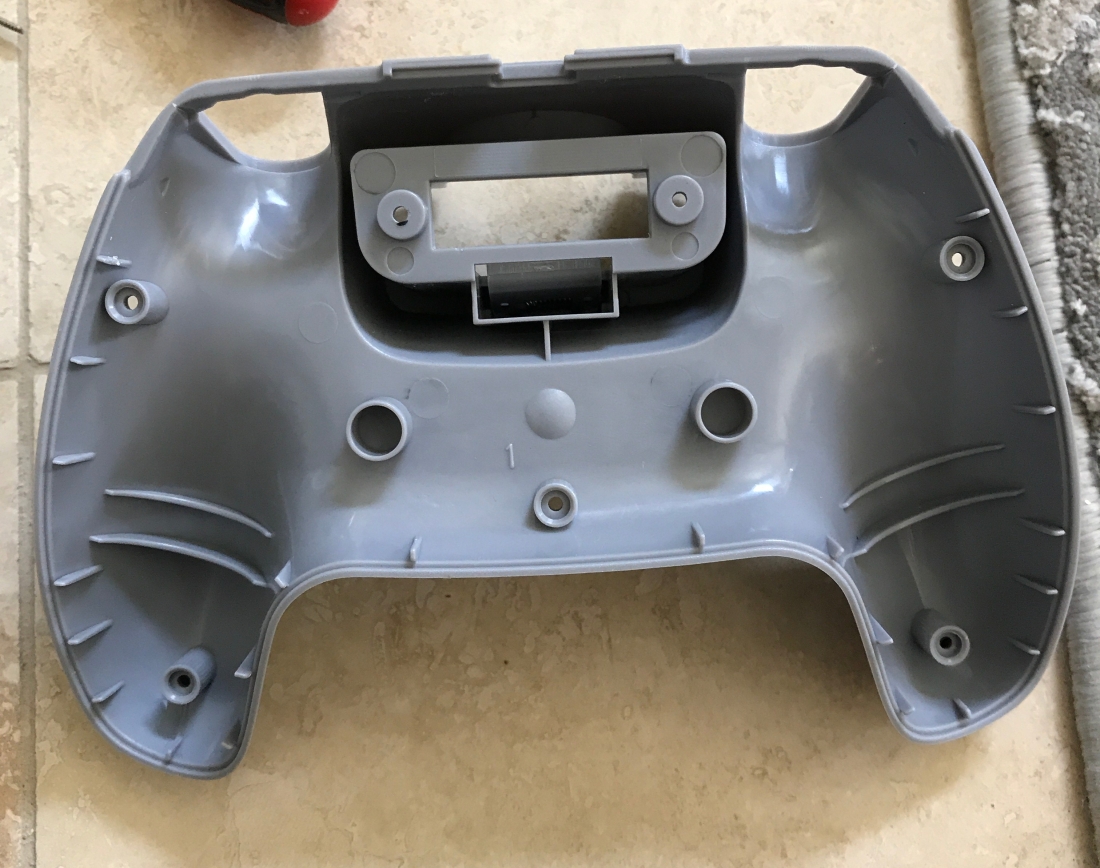
This thing is a bastard to get open. I unscrewed all the exterior screw and start to pry it open and nope. After some fiddling the only way to get the bottom shell off is to squeeze the Z buttons under the shell, force it under that part I was complaining about before. This stressed it further. The controller pak socket won’t let you just lift it up and off. I thought it was going to break.

img_1703.jpg

img_1704.jpg

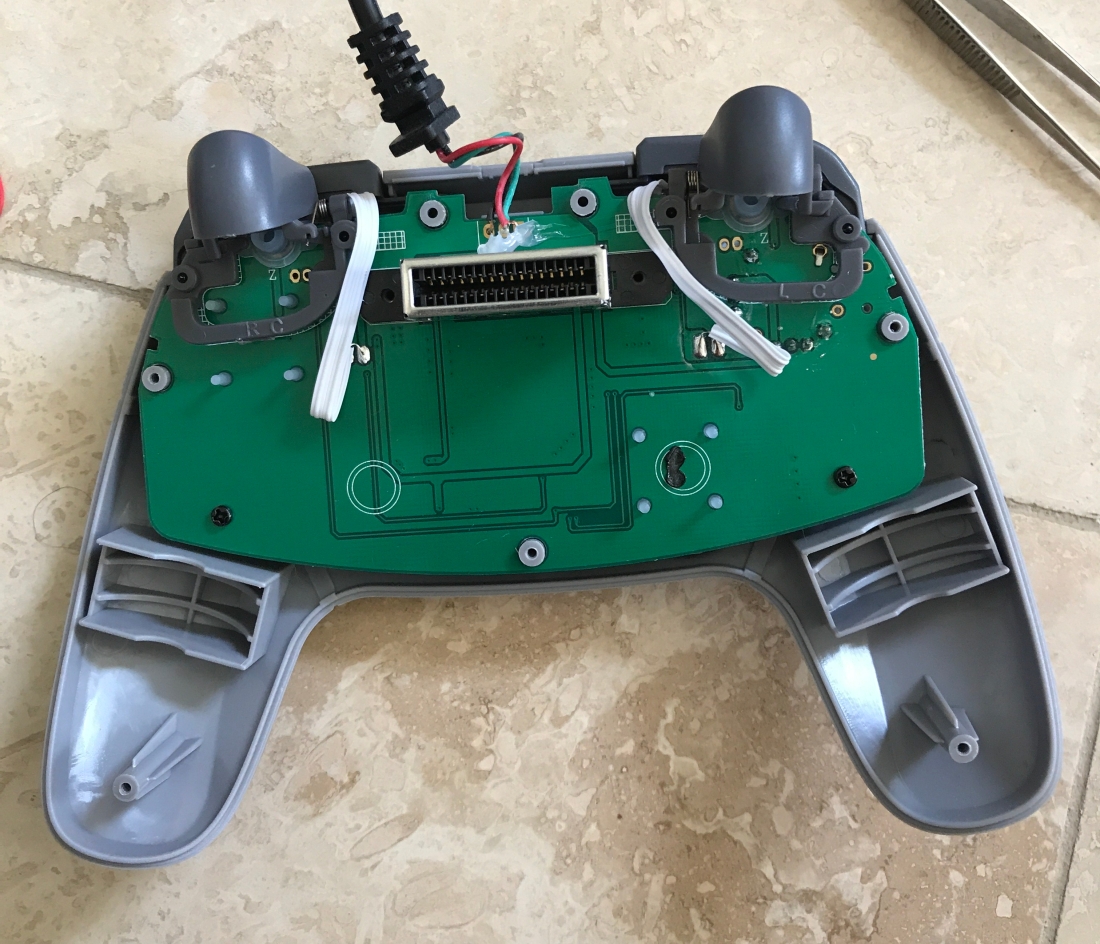
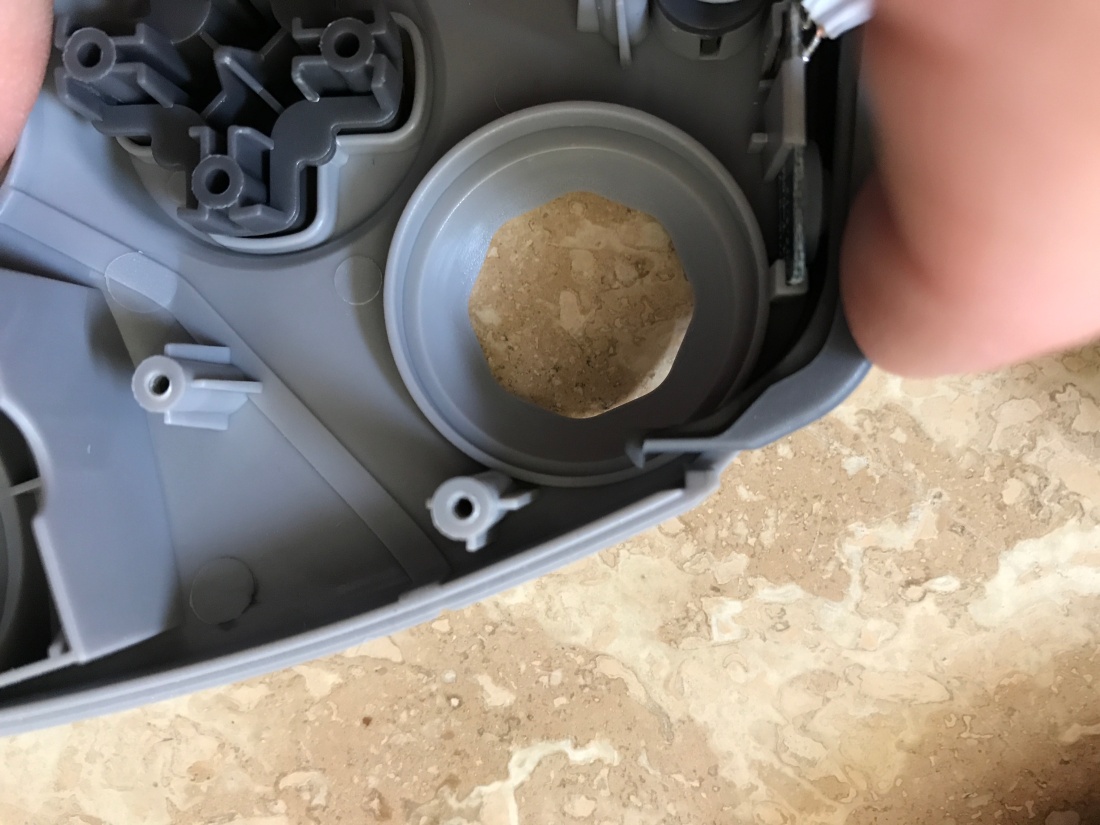
You can see where it’s designed to have rumble capabilities. The motors would fit in the brackets on each side in the handle.

img_1705.jpg

The joystick is secured very well.

img_1710.jpg

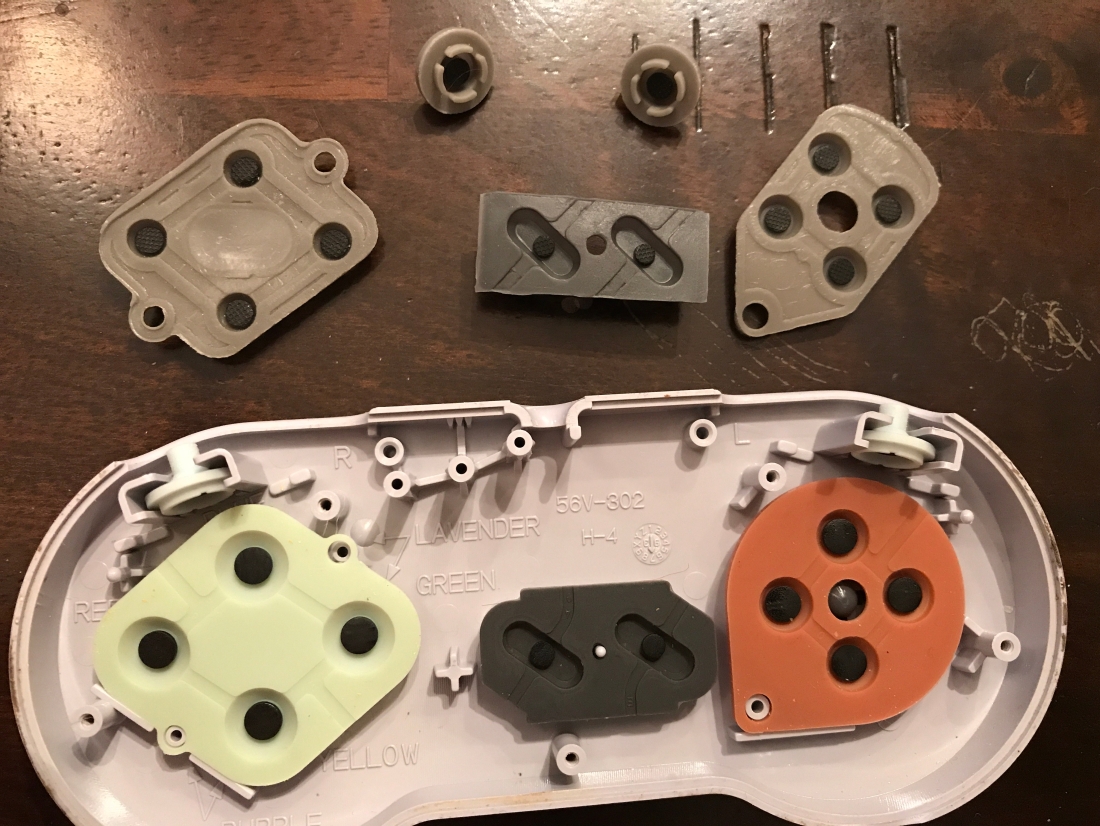
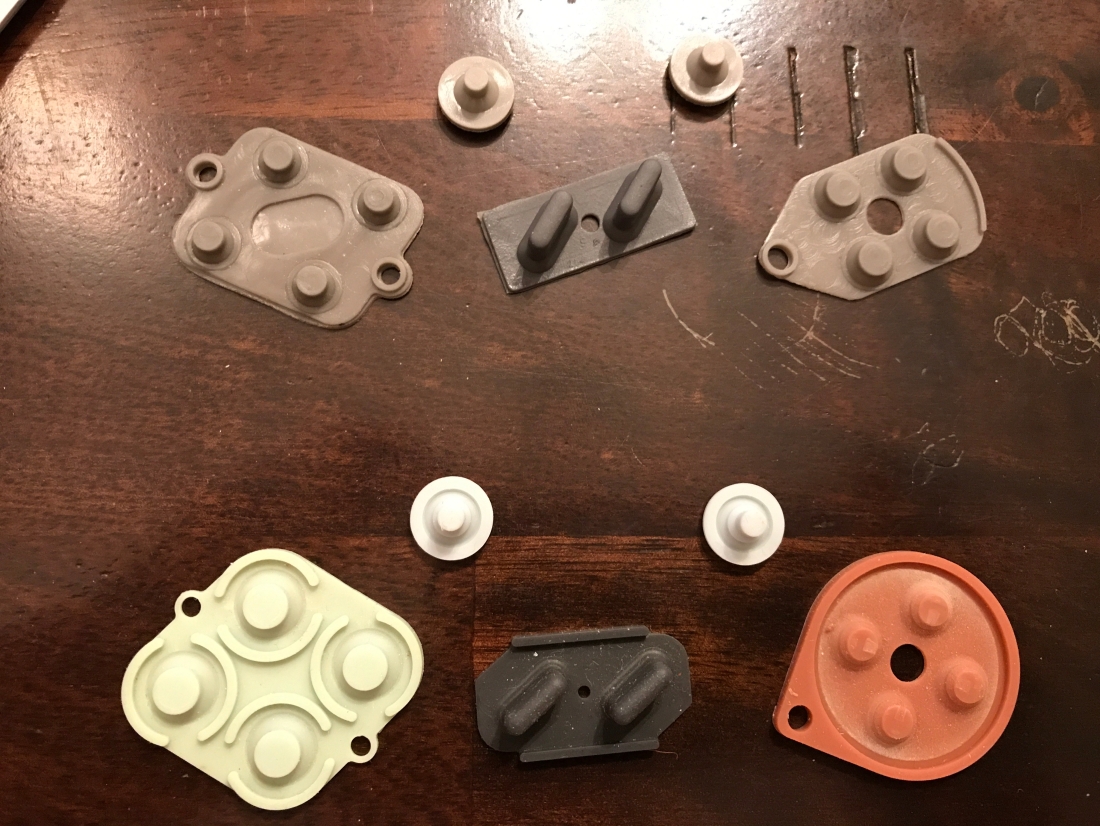
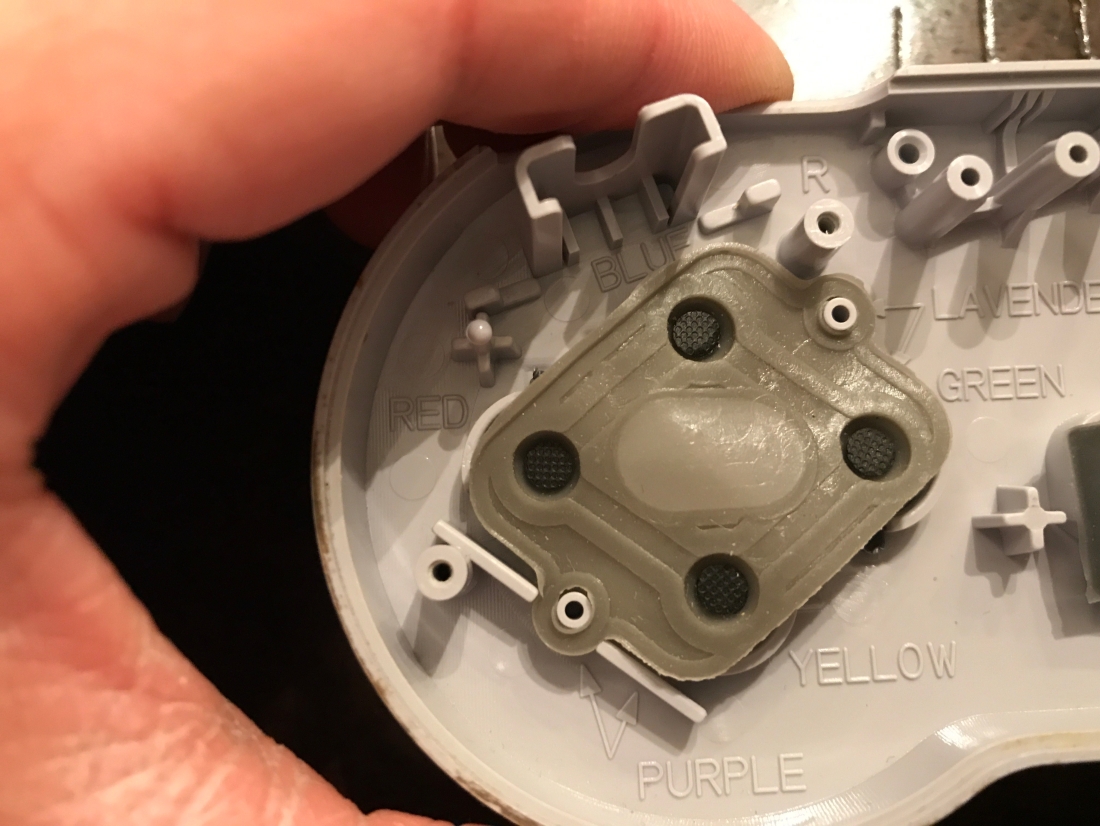
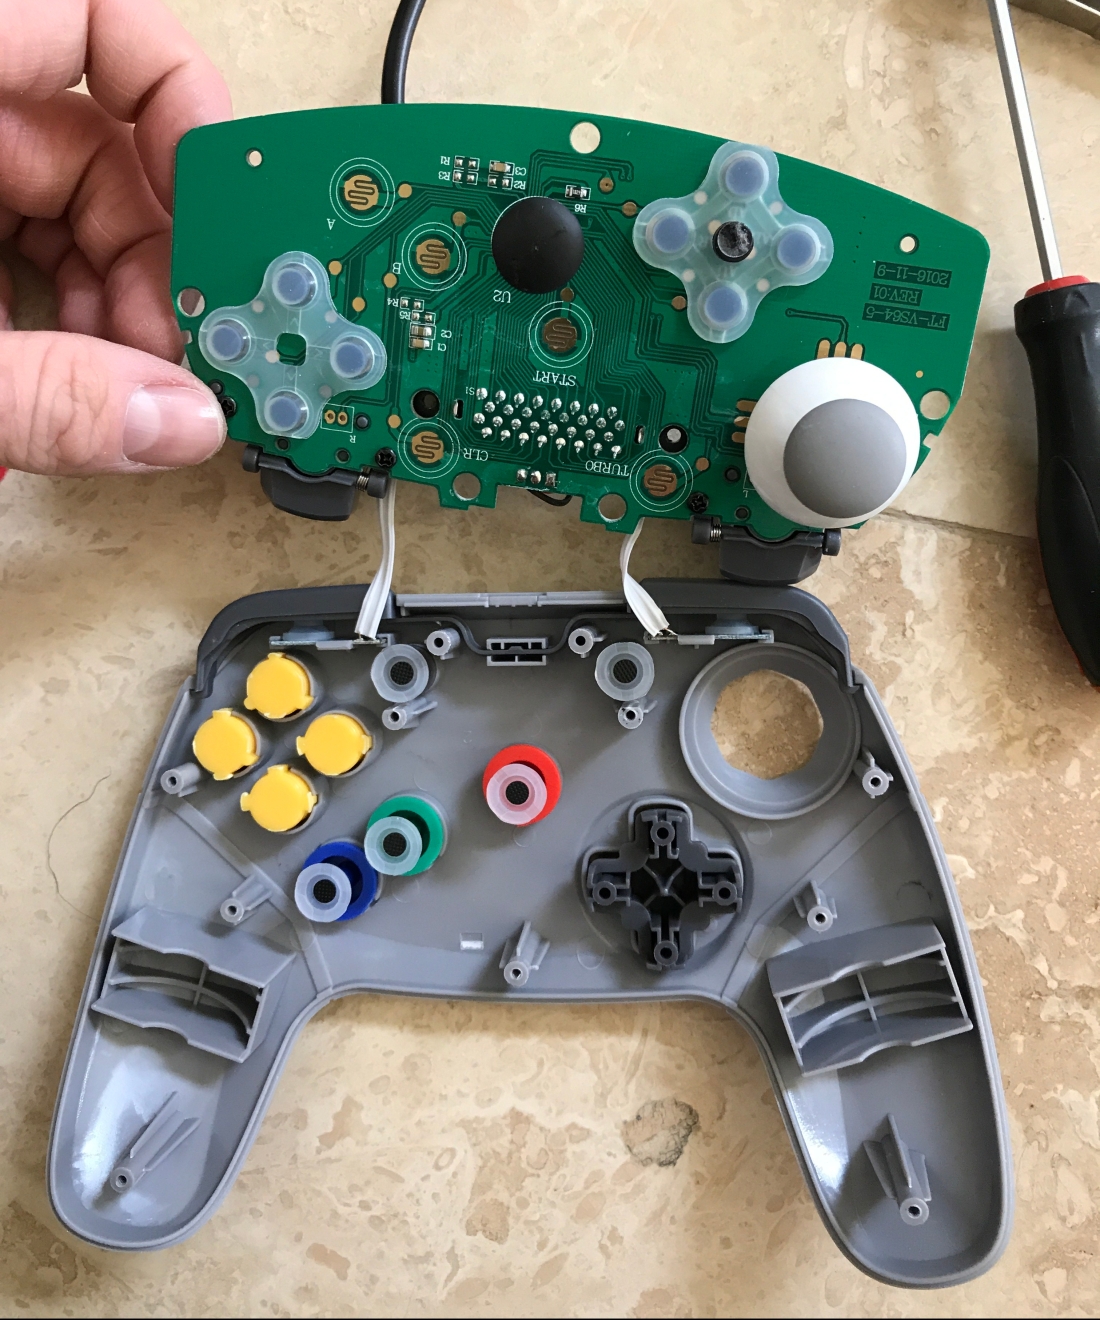
This has to be the thickest D-pad I’ve ever seen.

img_1708.jpg

IMG_1709

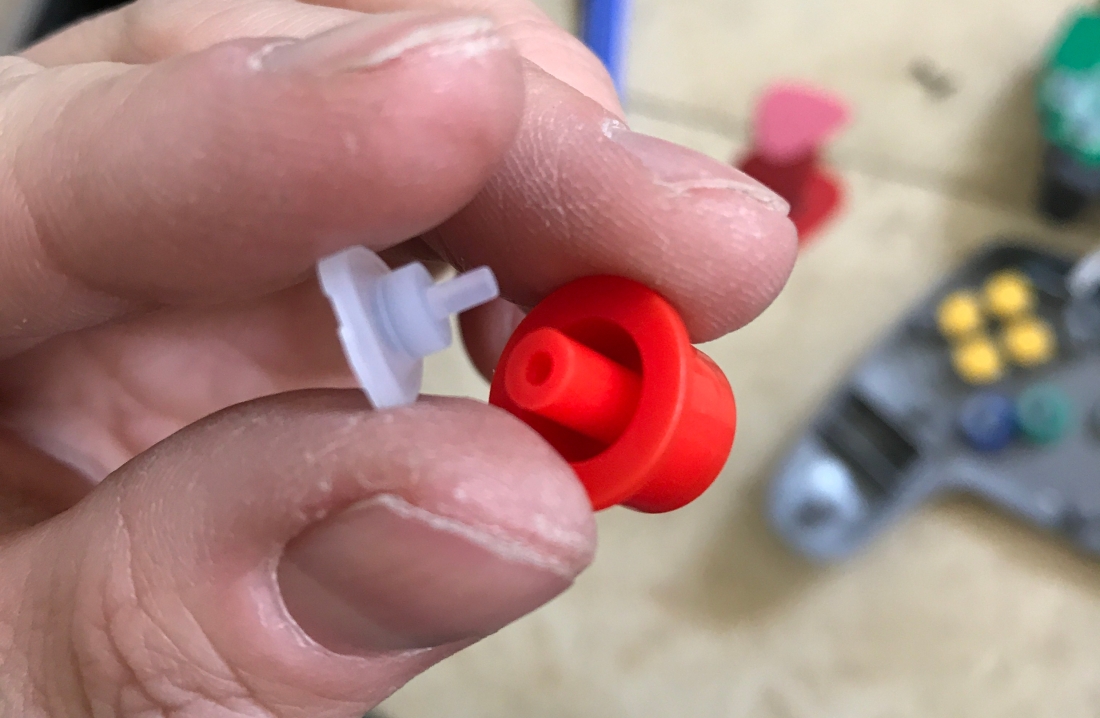
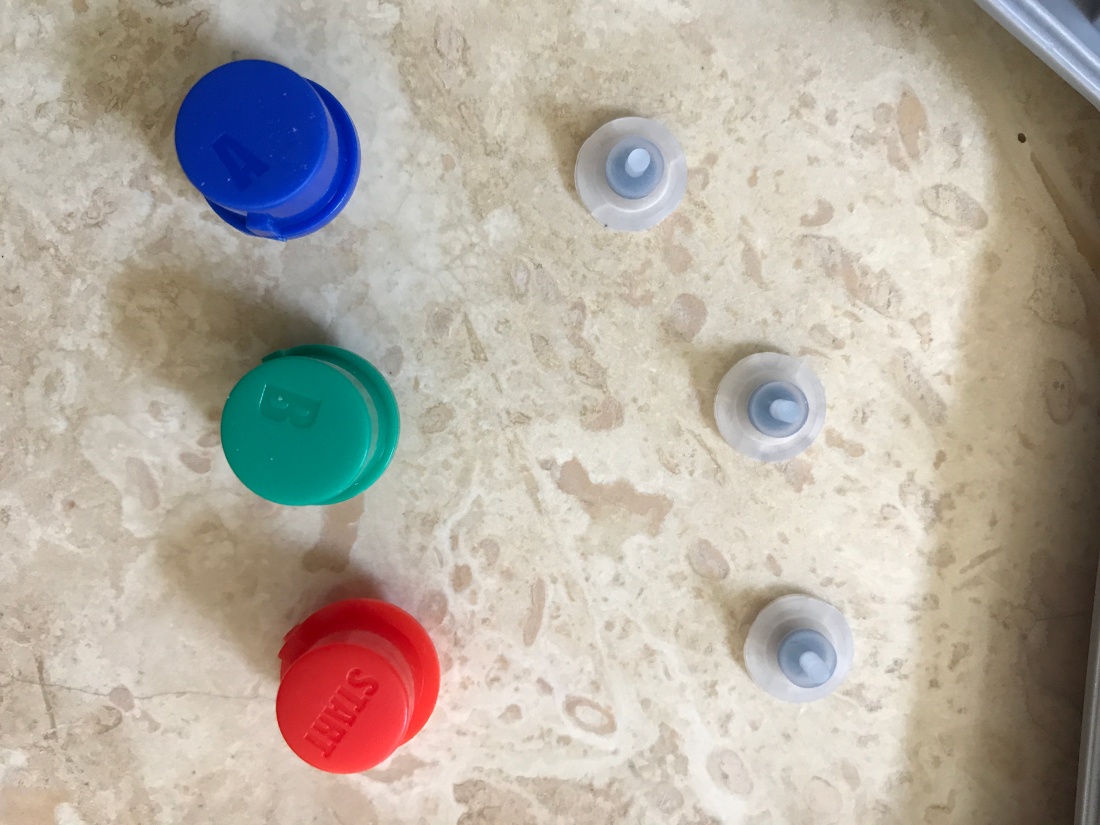
The Start, A, B have a small hole for the membrane switch to fit into.

img_1711.jpg

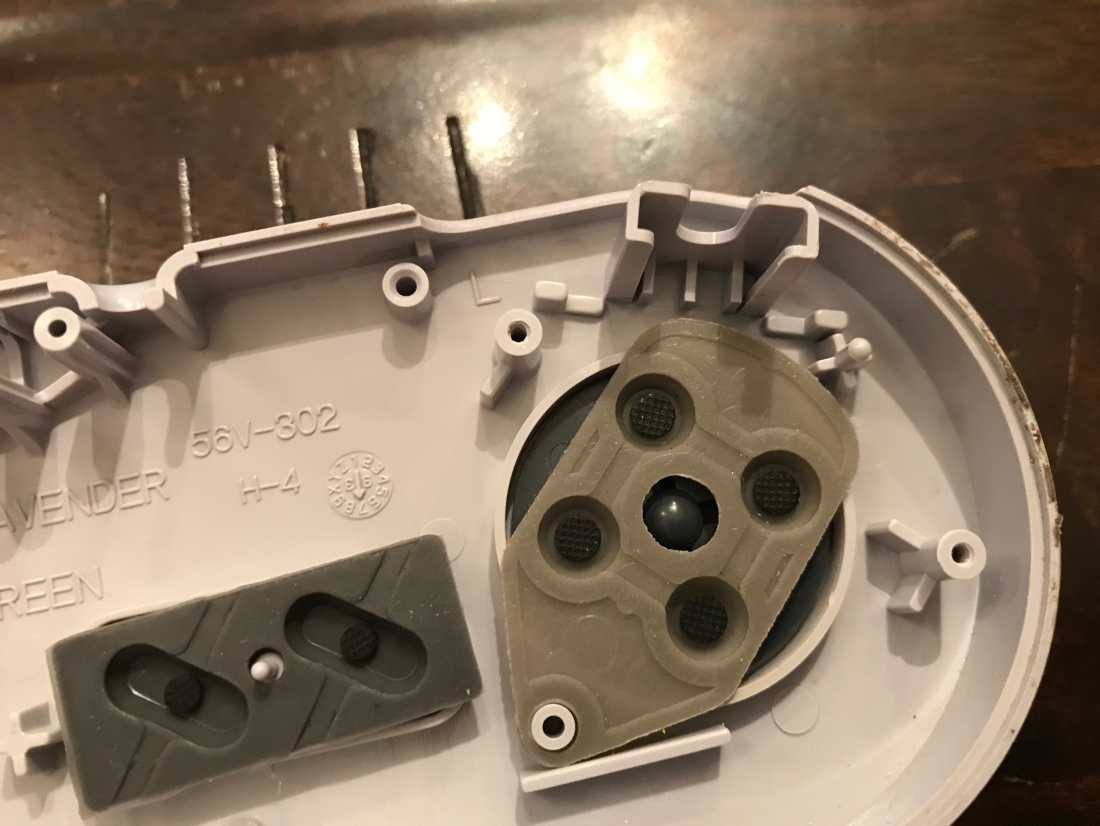
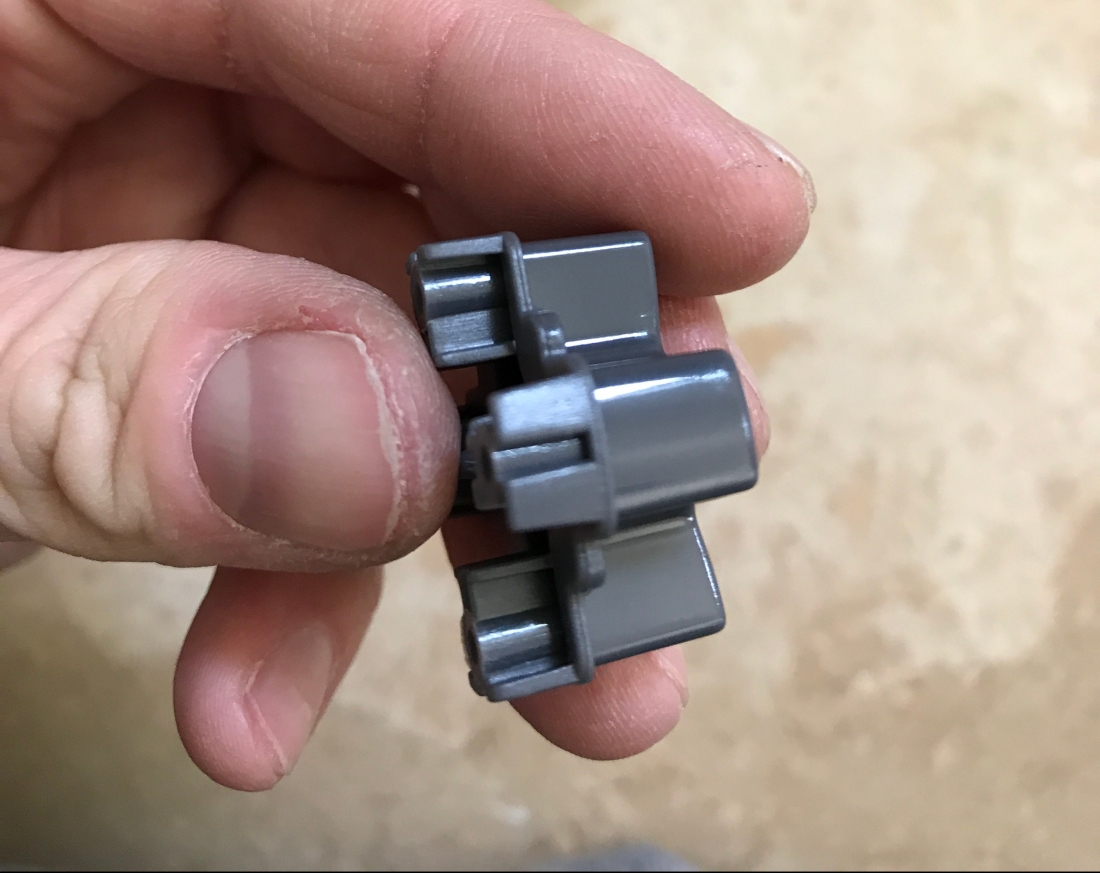
Now the C buttons? They are solid? Looks like something I could make in a pour mold (I’m sure there is a real name for this). It doesn’t make any real difference to the end user but it is a waste of plastic. Compare it to the Start, A, and B buttons. Odd.

IMG_1706

IMG_1707

It looks like the part of the L button that rubs on the joystick is the “retaining hook” that holds the button in the controller. I can’t just file it down without compromising the stability of that “hook”. I’m not sure how Retro Fighters will fix this.

The L button defect is an honest mistake. Having to force the shell over the Z buttons, that was a bad design. More low profile Z buttons and/or a wider hole for the pak socket would have helped greatly. Even if they didn’t plan to reopen them it would have helped prevent the stress marks.

I really want to be able to recommend this but I can’t, yet. I will update when the fix comes out or might even get one of the new units. If you want one, hold off and see what happens.

IMG_1712

I hope everything works out. I’d like to see a Gamecube version of this, I despise the OEM controllers.

SNES USB adapter review and teardown

IMG_1602

SNES to USB adapter $4.99

I bought this a few years back and is my emulator workhorse. I grew up with the NES and the NES controller will always be my first love but the extra buttons of the SNES controller are to versatile to not use. I mostly play Atari 2600 and NES games with it. For casual play I use the shoulder buttons for save state save/load and for speedrunning I use them for start/reset timer. As far as Windows software I use Joytokey, works flawlessly. I was NOT able to get this working properly on my Linux laptop. 

Lets begin the vivisection…

IMG_1625

IMG_1626

epoxy glob, is expected. simple, thick traces, well marked…

IMG_1627

Single sided. This is asking to be hacked into a SNES PC or some other project. Circuit boards don’t get more simple than this.

I have seen complaints of these not working on arrival. If that happens you can send it back or try to fix it if thats not and option. Repops and similar USBsnes controllers are significantly more expensive than this.

100% recommend. (except for Linux)


Edit: After “talking” with some folks on reddit, there seems to be concerns about input lag. I don’t notice whatever lag it does have. I understand “I don’t notice” is not a measurement and I likely just have muscle memory and anticipate what buttons I need to press early. With twitch FPS games any lag is a big concern but as far as retro games 2600, NES, SNES, etc I don’t have a problem with a few millisecond of lag.

SNES controller upgrade, custom buttons and replacement membrane set.

img_1600-e1516204638556
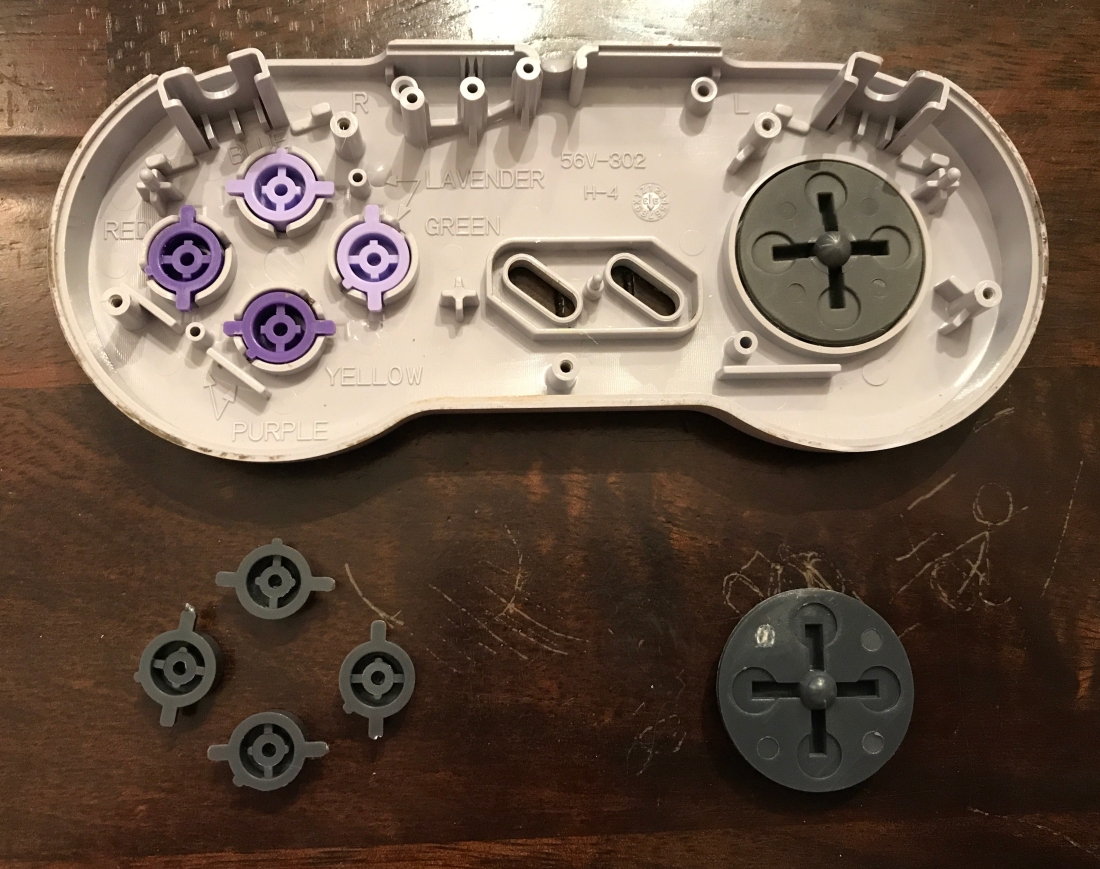
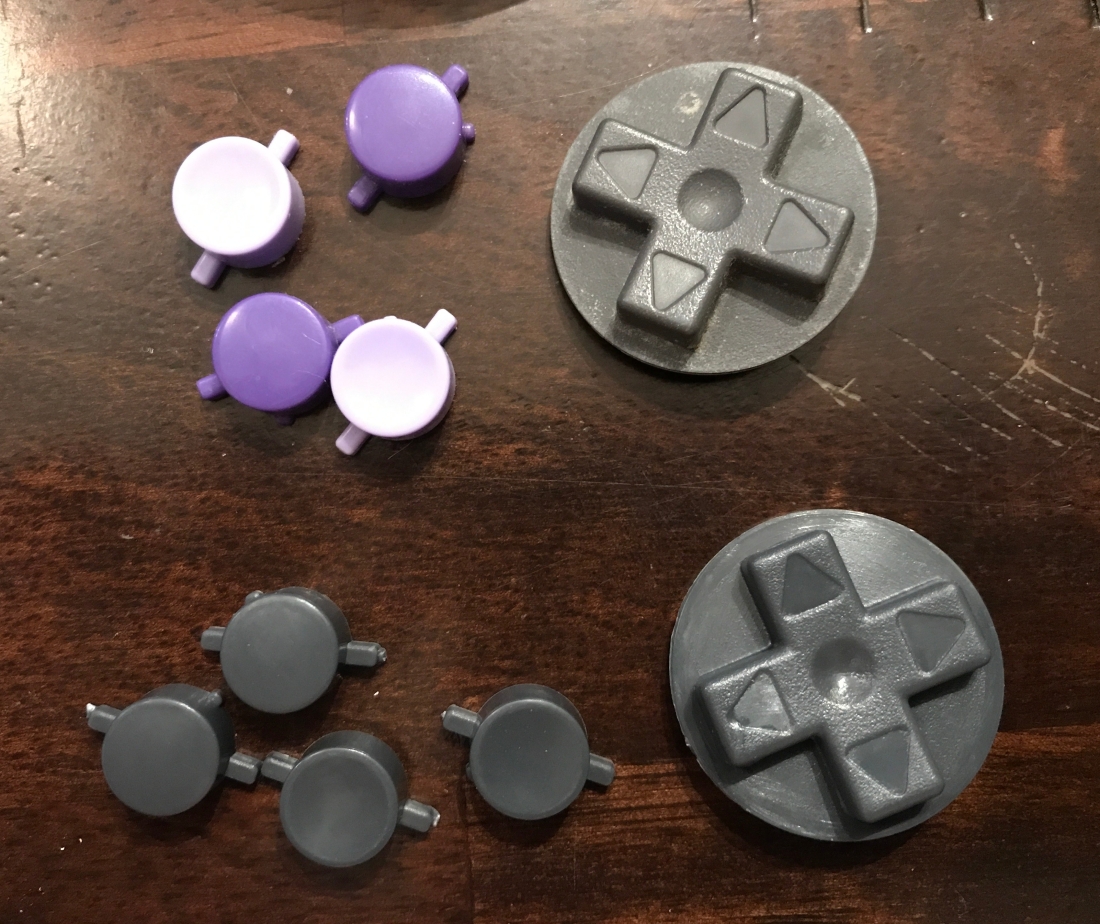
SNES custom buttons – dark grey  – $2

Button membrane set – $2.75

This particular controller is used on my laptop (via USB adapter + joytokey). The right button on the D-pad is flaccid. Also I always liked the look of the SNES but was always bothered by the color of the Y,X,B,A buttons, they looked like Smarties candies.

IMG_1592

Kitsh-bent: I’ve used them in the past and liked the results, I may try Hand Held Legend in the future. The order came with an advertisement bracelet, I wish it hadn’t. I’m not going to wear this shit and its to big for my kids who would probably wear it for a day and lose it. Mind you I’m complaining about free stuff so its not a big complaint.

IMG_1590

SNES custom buttons: The custom buttons are exceptional!

IMG_1595

IMG_1596

Button membrane set: this… this is not so exceptional.

IMG_1593

You can see that the new (top) membranes are less substantial than the original (bottom).

IMG_1594

IMG_1598

The D-pad membrane fits OK.

img_1597.jpg

The Y,X,B,A button membrane has to be slightly bent to fit between the two “posts”. I’m not liking this.

IMG_1599

The START and SELECT membrane/buttons are to close together so fitment isn’t right. I put the original back.

IMG_1600

Originals fit much better and match the new buttons better as well.

Now that everything is put back together, the D-pad feels great. The Y,X,B,A buttons feel a little to easy to push and the START and SELECT membrane/buttons were complete crap so I didn’t use them. All that said I love the way it looks and how the D-pad feels. I might go back to the original membrane for the Y,X,B,A buttons.

Don’t forget to keep original parts, they don’t take up much space and you never know if/when you’ll need them.